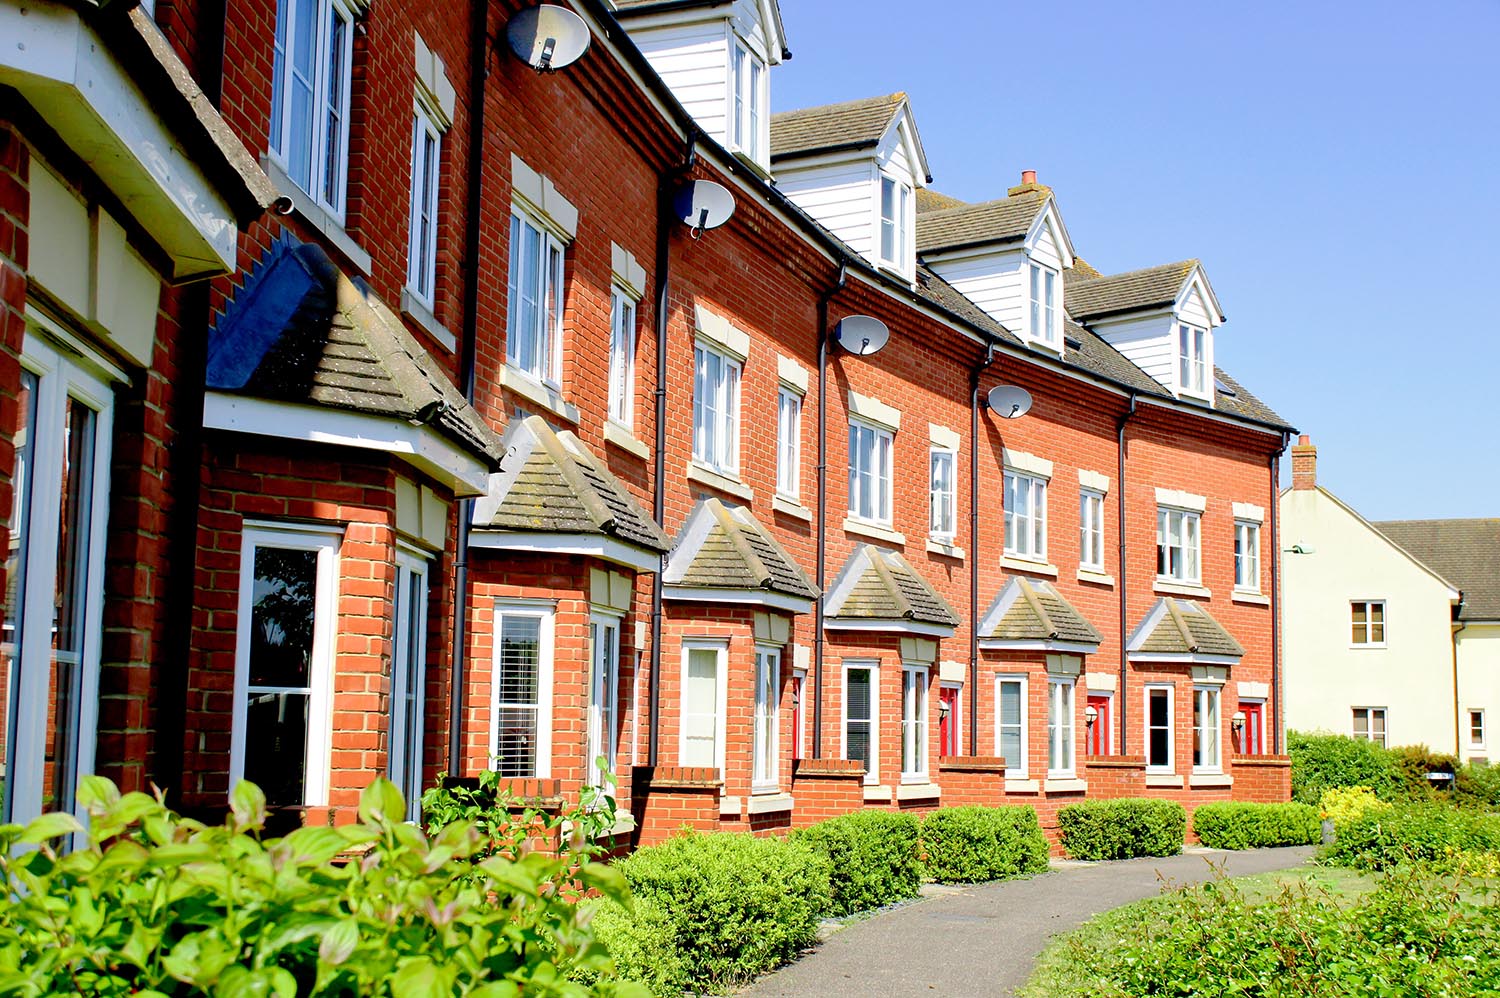
In today’s real estate market, high-quality property photos can make all the difference when it comes to attracting potential buyers. Whether you’re a homeowner looking to sell your property or a real estate agent trying to market a listing, taking professional-grade photos is essential. Great property photos can showcase the best features of a home, create a strong first impression, and ultimately help you sell faster and at a higher price. Here are seven tips to help you take property photos like a pro.
1. Use the Right Equipment
While smartphones have come a long way in terms of camera technology, if you want to take property photos that truly stand out, consider investing in a DSLR camera. These cameras offer greater control over settings like exposure, focus, and aperture, which can significantly improve the quality of your shots. A wide-angle lens can also help capture more of a room in a single frame, making it a valuable tool for property photography. If you choose to stick with a smartphone, make sure it’s a newer model with a good camera and consider using additional attachments like wide-angle lenses.
2. Plan Your Shots and Staging
Before you start taking pictures, take some time to plan your shots and stage the property. Walk through each room and identify the most attractive angles and features you want to highlight. Remove any clutter and personal items that may distract potential buyers. Fresh flowers, neatly arranged furniture, and well-placed decorations can add a touch of warmth and elegance to your shots. Staging can create a more inviting atmosphere that resonates with buyers and helps them envision themselves living in the space.
3. Pay Attention to Lighting
Proper lighting is a key factor in capturing stunning property photos. Natural light is your best friend when it comes to photography. Open blinds and curtains to let in as much natural light as possible. For interior shots, avoid using your camera’s built-in flash, as it can create harsh shadows and reflections. Instead, use external lighting sources, such as softboxes or reflectors, to create a more even and appealing light throughout the room. Pay attention to the time of day as well; early morning and late afternoon often provide the best natural light.
4. Use a Tripod
To ensure your property photos are sharp and free of blur, it’s a good idea to use a tripod. A tripod provides stability, which is especially important in low-light situations or when taking long exposure shots. It also allows you to frame your shots more precisely and keep the horizon level. A tripod can make a noticeable difference in the quality of your photos, making them look more professional and appealing to potential buyers.
5. Mind Your Composition
Composition is a critical aspect of property photography. Pay attention to the framing and arrangement of elements within the frame. Use the rule of thirds to create a balanced and visually pleasing composition. Keep horizontal and vertical lines straight to avoid a distorted or skewed look in your shots. Be mindful of angles, and try different perspectives to find the most flattering views of each room. Aim to capture the flow and layout of the space, highlighting its unique features and design.
6. Post-Processing and Editing
While capturing great shots is essential, post-processing and editing can enhance the overall quality of your property photos. You don’t need to be a professional photo editor to make improvements. Basic editing software, such as Adobe Lightroom or even smartphone apps like Snapseed, can help you adjust exposure, contrast, colour balance, and sharpness. Be careful not to over-edit, as overly processed photos can look unnatural and unappealing. Your goal should be to enhance, not alter, the property’s true appearance.
7. Focus on Details
Lastly, don’t forget to capture the small details that can make a big difference. Showcase attractive features like hardwood floors, elegant fixtures, or built-in storage. Highlight any recent renovations or upgrades to demonstrate the property’s value. Small details can often be the deciding factor for potential buyers, so take the time to photograph them effectively.
In conclusion, taking property photos like a pro requires careful planning, the right equipment, and attention to detail. Whether you’re a homeowner or a real estate agent, following these tips can help you capture high-quality images that will impress potential buyers and lead to a faster sale at a better price. Remember that great property photos not only showcase the home’s features but also create an emotional connection with prospective buyers. By investing time and effort into your property photography, you can improve your chances of a successful real estate transaction.

